I came past this idea when I saw reused magazine pages transferred into "simple" envelopes and thought that it would be even cooler, having a connection to your "real" life and making it to something you could use more often.
Aaaaanyway. Here we go (I'm writing a serious-topic-post right now, so my head is sort of past out, looking for the right formulations. More on it later)
Photo Clutch Tutorial

You will need:
- Scissors
- Envelope (optional. You just could use the idea from my drawing)
- thick paper
- masking tape (optional. But it makes it look cute!)
- needle
- thread
- button
- toothpick
- photos
- self-adhesive transparent foil
Cut it out.
Lay out all your photos the way you like it. Remember that some of the photos need to be up side down since you'll fold some of the sides up side down.
 |
| Can you see the pink arrow. It points to my envelope shape covered in photos... |
Next thing, I fixed all photos with some masking tape (No glue was used. However this is optional) I simply found it easier this way.
Turn around (Photo side down) and cut out again (all the stuff that sticks out).
Apply your foil. I cut out a large rectangle and simply turned down all the overlapping parts. Makes it more steady.
Now comes the hard part. Since your envelope is quite thick now, gluing might not work. I sewed instead.
First fold your envelope and punch holes in the right place (use a padding). Than sew it together. It's a bit tricky but you'll get through this part.
For applying your button you'll need to punch holes again. While sewing it on, put your toothpick under your button so it will stick out a bit. Also use a long thread so you can use the remaining thread to close your clutch.

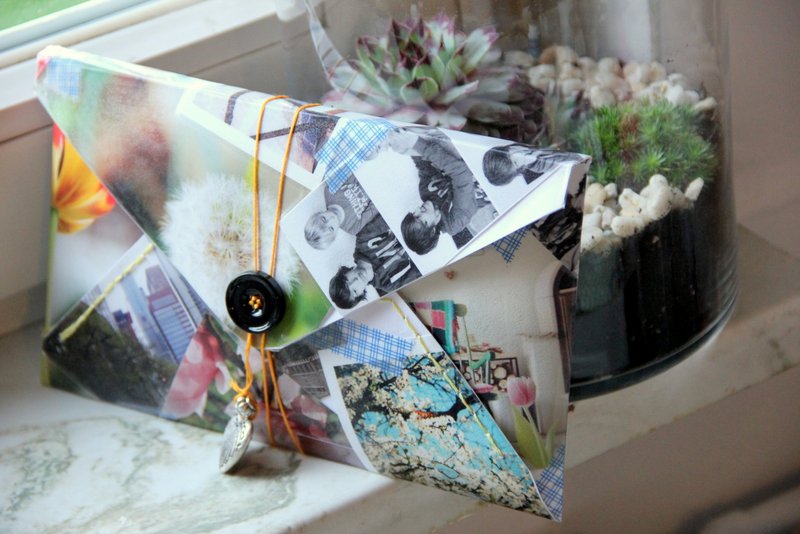
Finished! :)
Tip: I folded my "lid-part" twice (picture below) so it sort of had this 3D thingy. First: It makes it cuter (well I feel this way) and second: more stuff will fit in. You could also make it 3D-like at all sides.
Have a wonderful Monday!
Btw: It was our first day in our last school week (crazy stuff I can say!) and we started our "Motto Woche" Stay tuned for my summary at the end of the week ;)
Btw 2nd: Does the weather make you as tired as it makes me? I hate it!
Btw 3rd: I thought a bit about why I like blogging so much (it can become addicting you know!?) and I think it ist because the little things get their attention too.
Hallo Jo,
AntwortenLöschenich nochmal. Ich kriege es irgendwie grad nicht hin dir auf normalem Wege eine Nachricht zu schreiben, wollte dich aber etwas fragen:
Ich finde deine DIYs soo schön, (jedes Einzelne ist wunderbar) und würde deshalb gerne deinen Blog bei mir vorstellen!
Wäre toll, wenn du das gut fändest und ich vielleicht ein paar von deinen Fotos verwenden darf.
Schreib mir doch bitte, was du davon hältst an:
anna.blendwerk@gmx.de
Liebe Grüße, Anna